A keypad is a nice simple method of accepting user input into your project. These come in a number of styles and generally there are 2 types a 3×4 keypad and a 4×4 keypad. The numbers stand for the rows and columns, so a 3×4 keypad has 3 columns and 4 rows. These are simple to connect to your Arduino, in the example below we simply connect the 7 connections to 7 pins on our Arduino
Here is a picture of the keypad we purchased, we have a link to the exact one underneath. these are available from many online stores
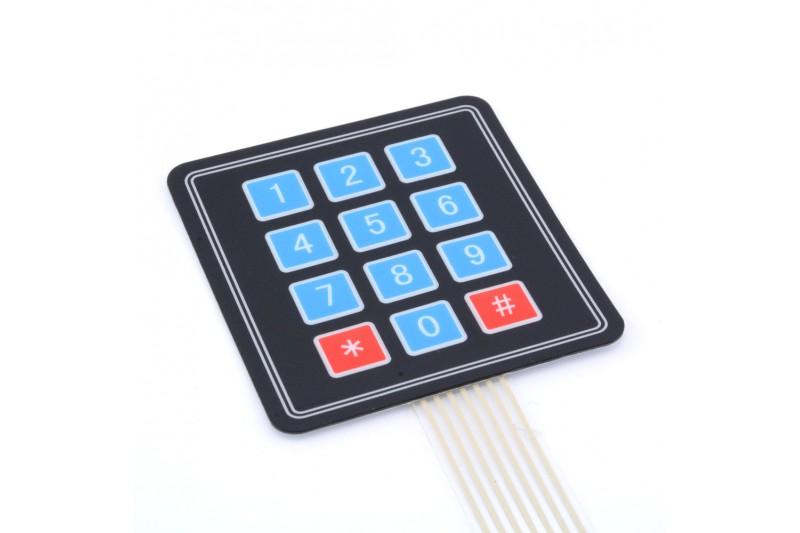
3X4-KEYPAD
Layout
The connection cannot be any more straightforward, here is the layout
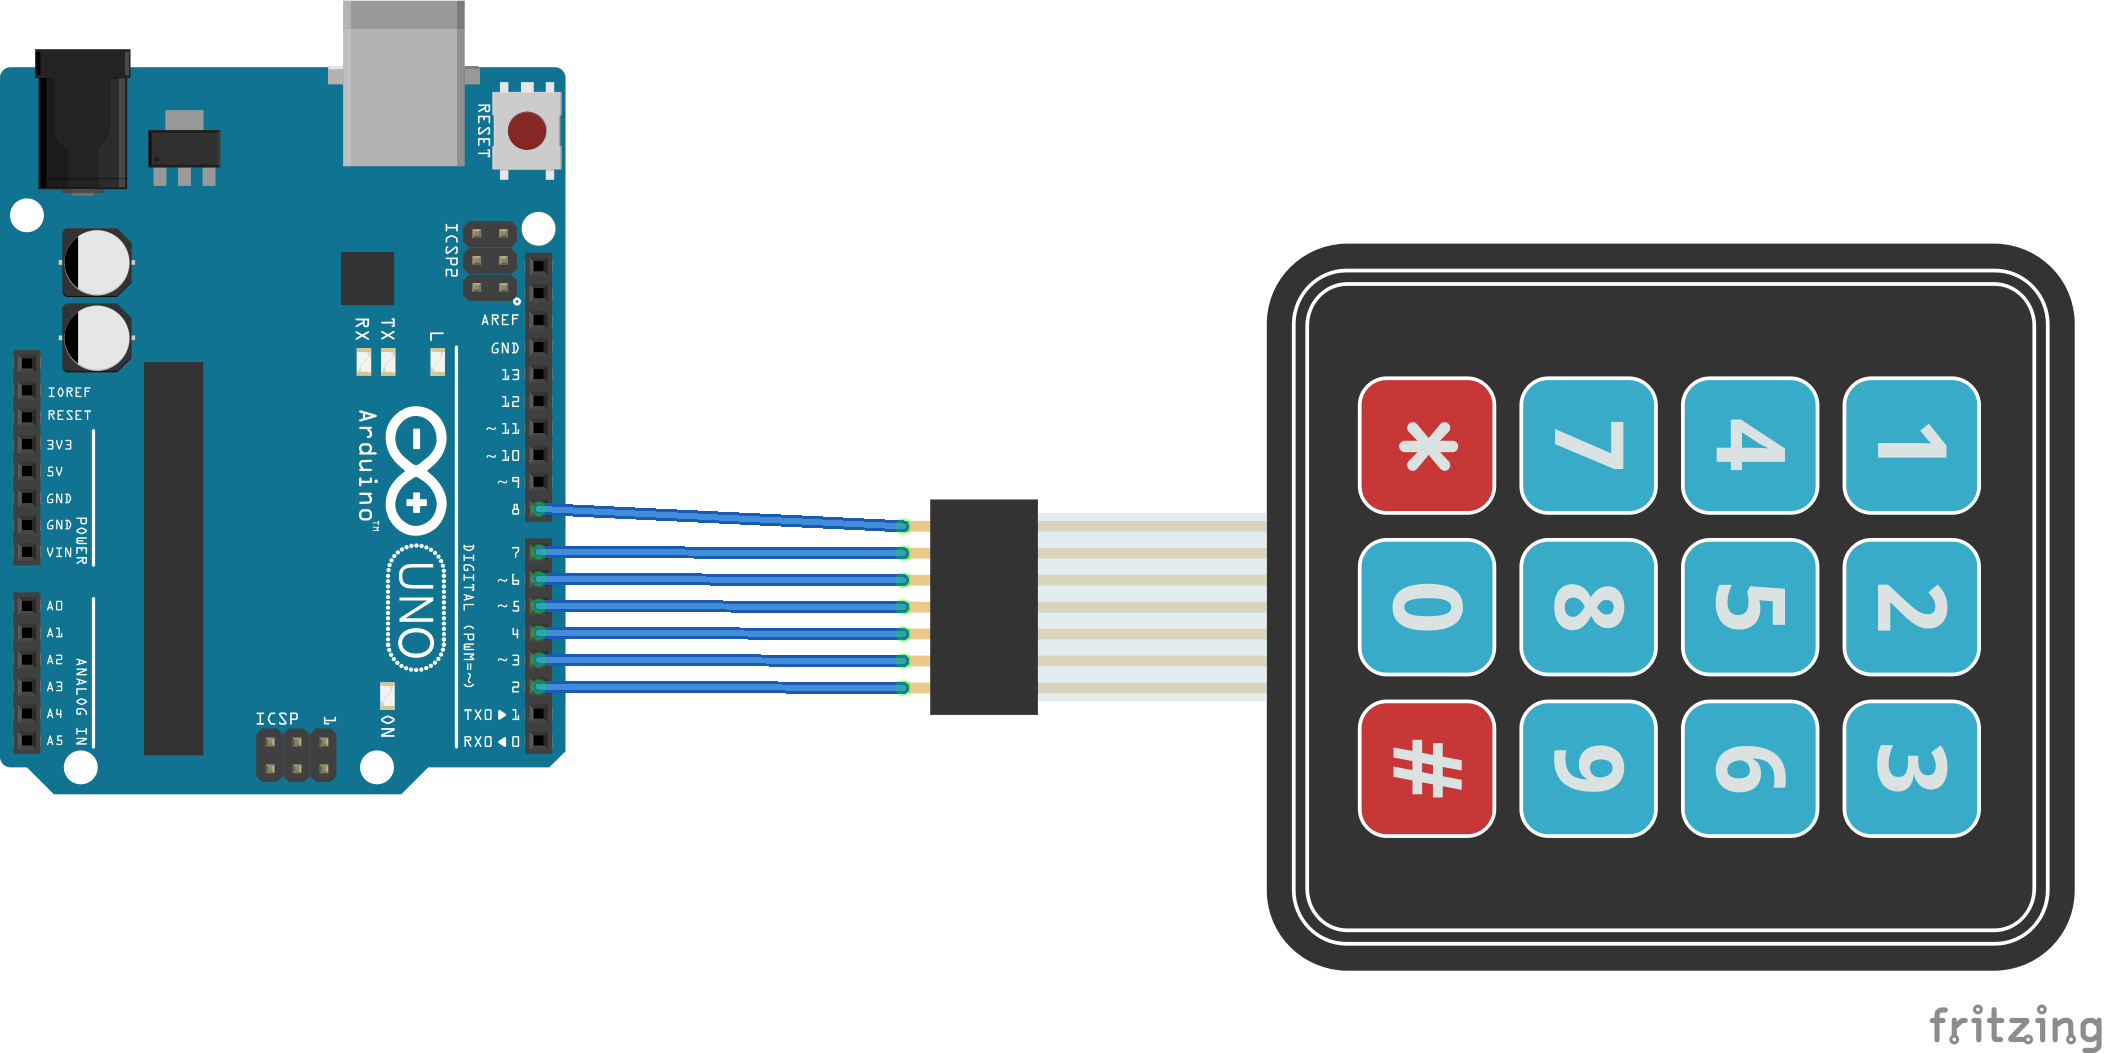
arduino and keypad layout
Schematic
Here is a basic schematic
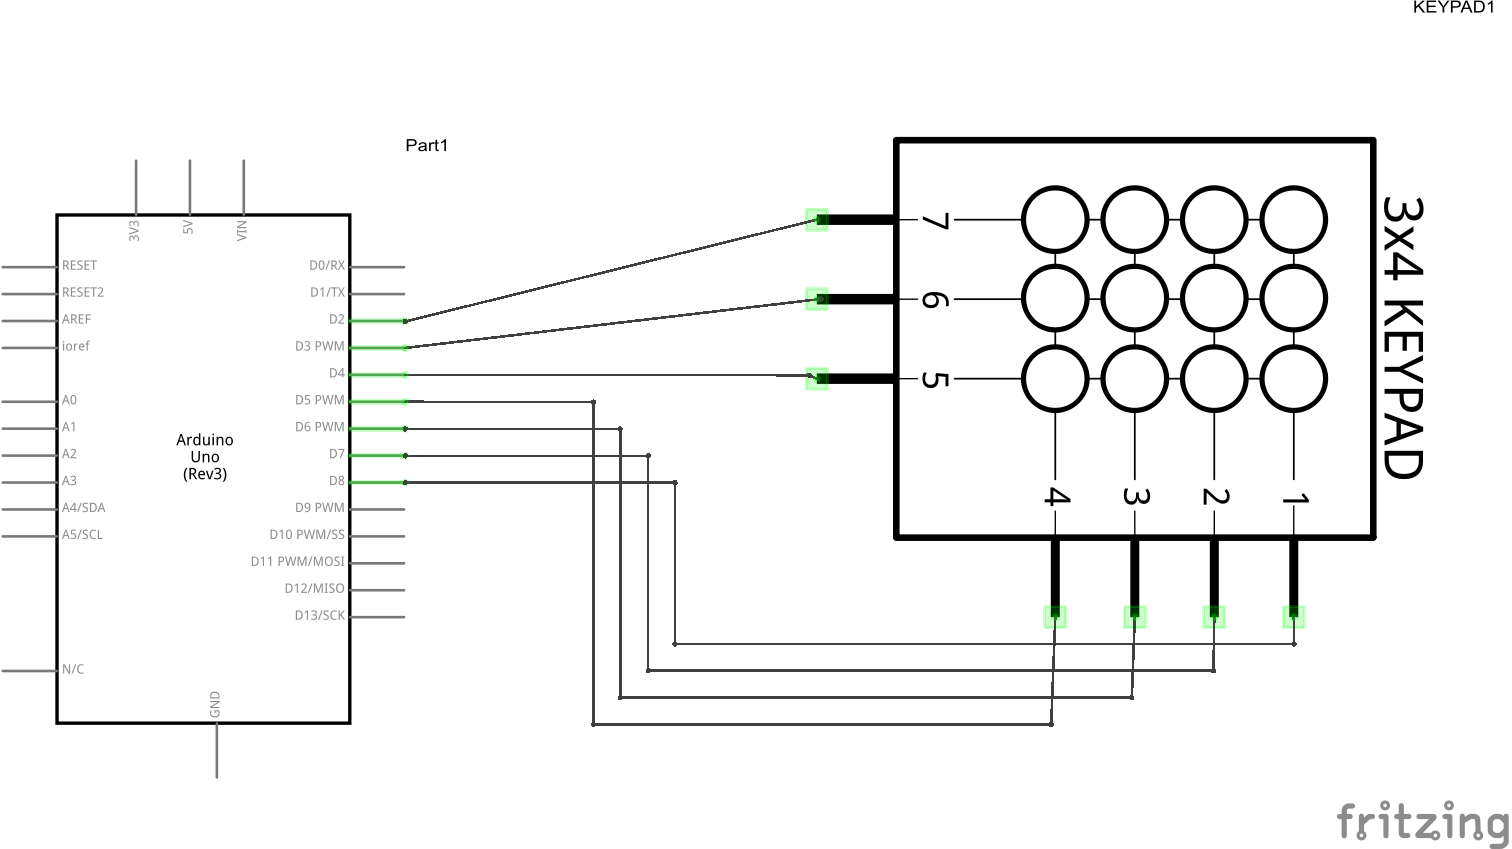
arduino and keypad schematic
Code
The code example takes advantage of a Keypad library, you can download this from here. Extract and copy this to your Arduino libraries folder
In the example below the button pressed will then be displayed in the Serial monitor
[c]
#include “Keypad.h”
const byte ROWS = 4; //four rows
const byte COLS = 3; //three columns
char keys[ROWS][COLS] = {
{‘1′,’2′,’3’},
{‘4′,’5′,’6’},
{‘7′,’8′,’9’},
{‘#’,’0′,’*’}
};
byte rowPins[ROWS] = {8, 7, 6, 5}; //connect to the row pinouts of the keypad
byte colPins[COLS] = {4, 3, 2}; //connect to the column pinouts of the keypad
Keypad keypad = Keypad(makeKeymap(keys), rowPins, colPins, ROWS, COLS);
void setup()
{
Serial.begin(9600);
}
void loop()
{
char key = keypad.getKey();
if (key != NO_KEY){
Serial.println(key);
}
}
[/c]
Further experiments could be a password system, an alarm entry panel, a basic calculator etc
Links
This was the exact keypad I ordered, only cost £0.99 for 1
4 x 3 Matrix 12 Key Array Membrane Switch Keypad Keyboard For Arduino
DC 4 Key Matrix Membrane Switch Control Keypad Keyboard
